
Xibo for Windows
On this page
Xibo for Windows Installation
The Xibo Windows Player is distributed as a windows installer file (MSI) which is a standard “double click” installation.
There are 4 steps to follow:
-
Preparation - Minimum Requirements and MSI
-
Installation - Double-click the MSI to start the installation process.
-
Connect - Connect your Player to the CMS.
-
Authorise - Authorise your Display with the CMS.
Launch Player!
1. Preparation - Minimum Requirements
Xibo does not require many resources to run, however with the advance of technology it has been necessary to set out some minimum requirements. The installation process will check these for you, but they are listed below for convenience:
- A network connection to the CMS (possibly over the Internet)
- Microsoft Windows 10 or later (see note below)
- Please note that starting with Windows 10 it is advisable to use the “professional” variant of the operating system. The “home” version no longer has the ability to fully control the schedule of automatic updates which may cause messages to interrupt your signage playback.
- .NET Framework v4.7.3
- Visual C++ Redistributable for Visual Studio 2015-2019 x86 (will be downloaded if not present)
- Internet Explorer 8+ ( recommended IE11 or higher )
- Flash Player Version 9 or later (if Flash support required)
- Windows Media Player 11 or later
- For PowerPoint support; Microsoft PowerPoint 2003 or later. PowerPoint viewer is not suitable.
- For
edgebrowser tags and HLS support the Webview2 runtime is required. Download here
We recommend Windows 10 build 1909 or later. Enterprise LTSB is known to have issues with video playback.
Windows 7
Xibo for Windows supported Windows 7 until v2 R202. If you want to install on Windows 7 please ensure you use v2 R202 of the Player or an earlier version. You can get this from the Downloads page.
Windows 7 installations can use .NET Framework v4.5 or later.
2. Installation
- Download Xibo for Windows and double click on the
Xibo msifile.
The installer will take you through a number of screens, which are outlined below.
Please note: You may see a security warning or a message asking if you allow an app from an unknown publisher to make changes, during the installation stage. Please accept by clicking on “Run” or “Yes” to continue with the installation.
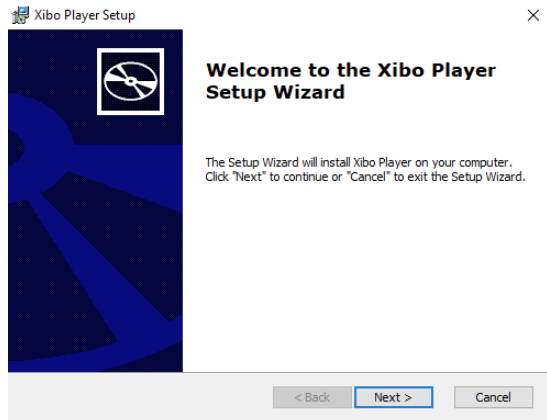
- The installer presents a Welcome screen, click “Next”.
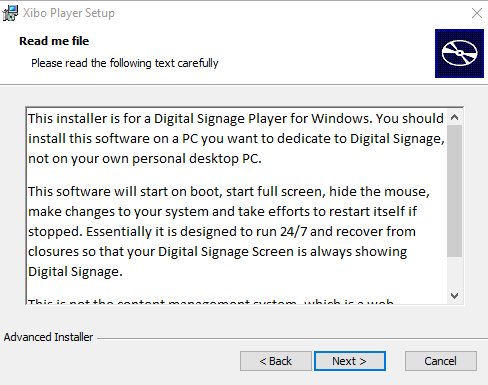
- Read the Read me file and click “Next”:
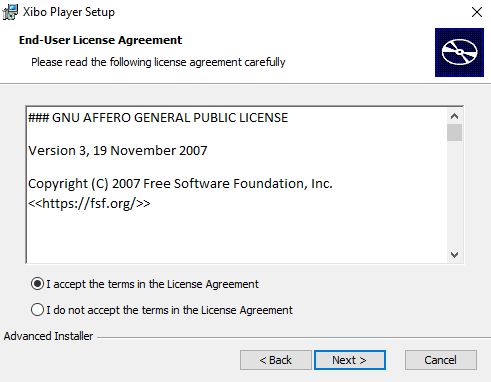
- Read the End-User License Agreement and click to accept these terms, click “Next”.
- Click “Install” or click “Back” to review:
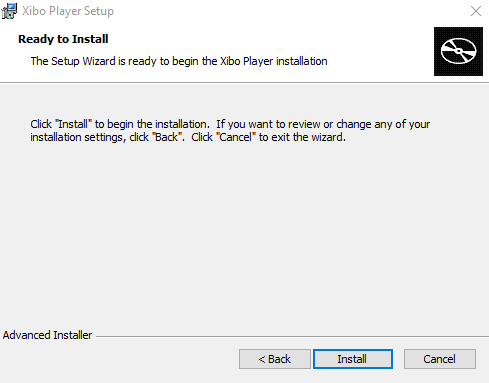
The Setup Wizard will start to install the Xibo Player, which may take several minutes.
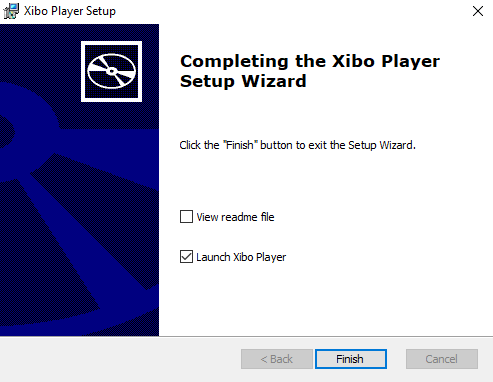
- The Installation is now complete, click “Finish” to exit the Setup Wizard:
C:\Program Files(x86)\Xibo Player\

3. Connect to your CMS
Newly installed Players must be configured and registered with the Xibo CMS before they can be used using Player Options.
Most of the Player options are set on the CMS and delivered over the network to the Player. This keeps the Player configuration to a minimum on each new installation.
Before any options can be sent from the CMS it is necessary to register the Display using one of the two methods available:
- Use Code (available from v2 R205/R252 and later)
or
- Manual Configuration (CMS Address and Key)
Use Code
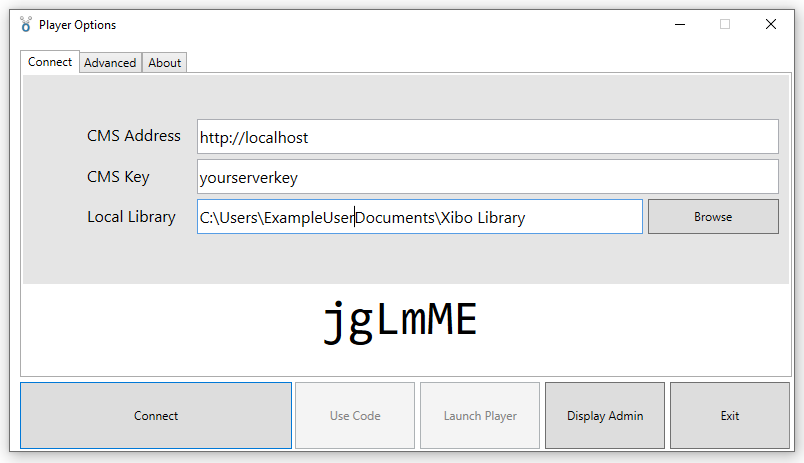
- From the Player Options, select the Connect tab and click on Use Code to show a 6 character Activation Code.
- Now in the CMS, navigate to the Displays page and click on Add Display (Code).

- Enter the code as shown on on the Player Options window.
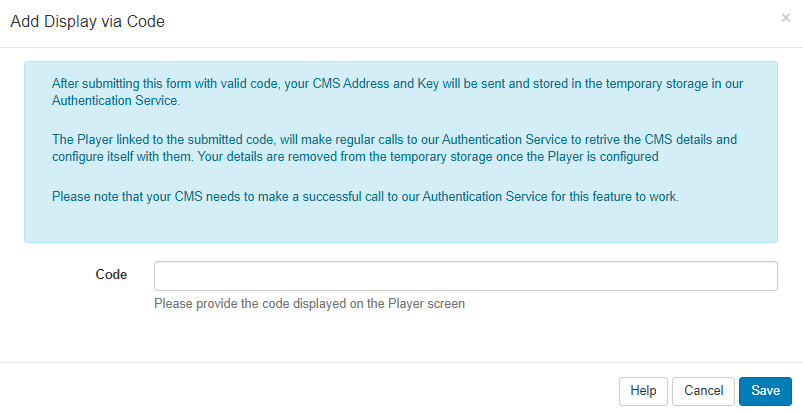
- Save
Once successfully configured, the activate Player page will automatically close.
The Display will be registered, proceed to the Display Authorisation step to continue the set up.
Manual Configuration
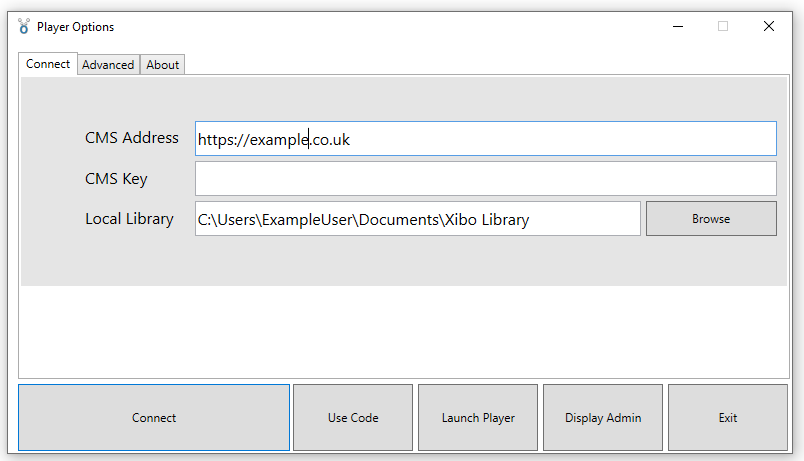
Complete the required fields in the Player Options window, from the Connect tab:
-
CMS Address: This is the fully qualified address of your CMS installation. For example
https://cms.example.org or http://example.org/cms - CMS Key: The secret CMS Key that will authenticate this Display with the CMS.
- Local Library: The location for the Player to store its local files. Files are downloaded from the CMS so that the Player will still function if it loses connection with the CMS.
- Once all the fields have been completed click on the bottom Connect button.
Assuming there are no errors with the communication between the CMS and the Player, the Display will be registered and awaiting authorisation as detailed in the Display Authorisation step below.
Advanced Player Options
There are a few other settings that can only be set on the Player side from the Advanced tab, as explained below:
The Player needs to have access to the CMS during the registration process and also to get new content. If the Player is behind a proxy server, the details of that server can be entered using the fields below.
Proxy settings:
- Username used to authenticate with the Proxy Server.
- Password used to authenticate with the Proxy Server.
- Domain used to authenticate with the Proxy Server.
Other settings:
- Display ID - The unique ID for this Display. An automatically generated unique ID will be assigned at installation but can be modified if appropriate.
- Splash Screen - Optionally override the Splash Screen with an image stored locally on the Player PC.
4. Display Authorisation
Before the Player can receive Scheduled Events and display Layouts/Campaigns, you will need to Authorise the Display to connect to the CMS.
- Click on “Display Admin” from the Player Options window or log in to the CMS and click on Displays from the main menu to see your newly registered Player in the list.
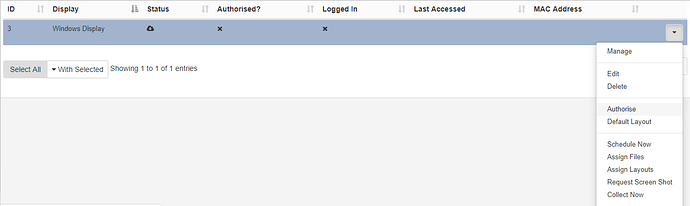
- Use the row-menu for the newly added Player and select Authorise from the list:
- Click Yes to confirm the authorisation of this Display.
Display Setting Profiles
Once registered, the Player will be given a default Display Setting Profile.
Launch Xibo Player
You can now select “Launch Player” from the Player Options window or go to all programs and click on Xibo Player. It should display the Xibo Splash Screen while the Default Layout and its media contents (and anything else you have Scheduled) are downloaded.
The Player will then begin playing Layout contents.
Windows Modifications
Here are some suggested settings for Windows / PowerPoint for a Windows Display:
- Turn off all screensavers.
- Turn off screen power saving.
- Load the “No Sounds” Sound Scheme (Control Panel -> Sounds and Audio Devices Properties)
- Set a plain wallpaper (Hopefully nobody will see it, but you might need to reboot the Player, or restart Xibo and a sane wallpaper is a help).
- If the Player is accessible from where you manage your Displays from, you might want to install UltraVNC server so you can connect in and check on the Player from time to time. Use the “View only” option in the VNC client to avoid disturbing the Display.
- Set Windows to log on as your Xibo Player automatically.
- Disable balloon tips in the notification area.
HTML5
Xibo uses the Web Browser provided by Windows to display web content, tickers, text, etc. This browser component defaults to Internet Explorer 9 on most systems.
-
In version 1.7.8 and later the installer creates a registry key to force the browser to be IE11.
-
Users running 1.7.7 or earlier should follow these instructions for enabling IE11 support.
PowerPoint
Displays that will show PowerPoint should follow the Prepare your Windows Players section of the PowerPoint User manual page to confirm that the registry has been modified correctly for their version of Windows / PowerPoint.
Thumbnail Database
Windows automatically creates thumbnails for content in the User folder and will try to do so for the Xibo local Library.
In some cases, this interferes with the normal operation of the Player and should be disabled. This can be achieved with the following registry settings:
[HKEY_LOCAL_MACHINE\SOFTWARE\Microsoft\Windows\CurrentVersion\Policies\Explorer]
"NoThumbnailCache"=dword:00000001
"DisableThumbnailCache"=dword:00000001

[HKEY_LOCAL_MACHINE\SOFTWARE\Microsoft\Windows\CurrentVersion\Explorer\Advanced]
"DisableThumbnailCache"=dword:00000001
"NoThumbnailCache"=dword:00000001
Please ensure you know what you are doing and have appropriate backups in place before modifying the registry!
Multiple Players
It is possible to run more than one of the Players on Windows. Please see the Windows Player Multi Install page for further details.
Screen Saver
It is possible to run Xibo as a Screen Saver. Please see the Windows Player - Screen saver page for further details.
Watchdog
The Watchdog is a system tray application which can be used to monitor the stability of the main application and restart it where necessary.
- Version 1.7.8 and later, the watchdog is configured and started by the Player application.
- Users running 1.7.7 or earlier will need to manually configure using the following Windows Player Watchdog installation instructions.
