
Layouts
On this page
Layouts
A Layout is a complete screen design made up of content, which is then scheduled to one or multiple Displays. A Layout can contain 1 or more items of content to show using a combination of Elements, Widgets and Library Media.
To show a sequence of multiple items (such as an image slideshow) on Layouts, a Playlist is used.
Xibo has no limit to the number of Layouts you can have in the system or the number a User can have.
- Layouts are managed by clicking on Layouts under the Design section of the main CMS menu:
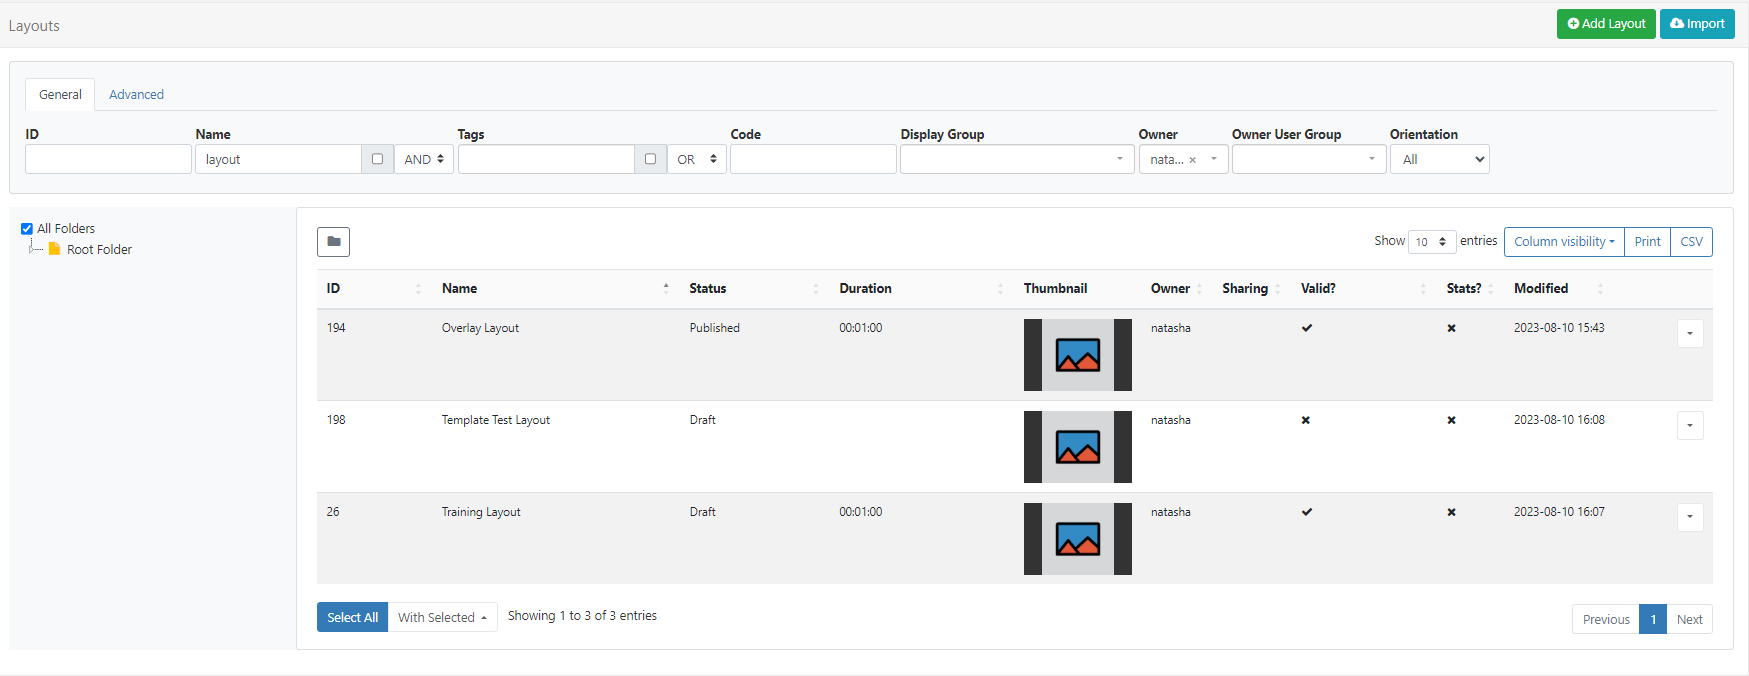
Folders are used to organise, search and easily Share User objects with other Users/User Groups. Layouts saved to a Folder will inherit the access options applied to that Folder.

- Click on a Folder/sub-folder to search the contents or tick All Folders to include searching in the Root Folder and return results based on any filters applied to the grid.
Adding Layouts
When should a User create a new Layout? When should a User add to an existing Layout? Layouts provide vast flexibility in the system. The recommended usage for a Layout is for it to only contain the design and media required for a set of related content that should be scheduled at the same time.
Click on the Add Layout button at the top of the grid to start creating new designs using the Layout Editor.
Using Templates
Templates are an easy way to speed up the design process and a great way to maintain a corporate image/standard.
Templates can be selected from the Toolbar inside the Layout Editor on adding a Layout.
Xibo Exchange
Select from one of our templates available from the Xibo Exchange.
Xibo Exchange templates are enabled by default for new Xibo Cloud Hosting customers.
Administrators, if you are upgrading from an earlier version you will need to enable the Xibo Exchange:
- Select Applications under the Administration section of the main CMS menu.
- Scroll down to the Connectors section of the page.
- Click Configure for the Xibo Exchange and tick to enable.
- Save.

For On-prem installations, Administrators can enable templates to be shown from the Xibo Exchange:
- Select Applications under the Administration section of the main CMS menu.
- Scroll down to the Connectors section of the page.
- Click Configure for the Xibo Exchange and tick to enable.
- Save.

Resolutions
Layouts are designed for an intended display resolution and will function best when shown on a Player with a matching resolution. If they are shown on a display that has a different resolution it will dynamically resize which may result in unused screen space.
Resolutions are selected for a Layout from the properties panel in the Layout Editor.
Xibo comes with a selection of default resolutions that cater for most digital signage applications.
Resolutions can be added/edited and enabled/disabled by an Administrator from the Resolutions page under the Design section of the main CMS menu.
Row menu
All Layouts have a row menu where Users can access a list of actions/shortcuts.
Notable settings are listed below for a Published Layout:
Design
Select to make design changes to the Layout in the Layout Editor.
When in a Published status, the Layout Editor will open in a Read Only Mode. You will need to ‘Checkout’ the Layout to enable editing.
To prevent two Users editing the same Layout concurrently, the Layout will lock for a User whilst editing.
Checkout
To make edits to a Published Layout click to Checkout and create a draft. Once edited the Layout can be published to make the changes permanent overwriting the existing Layout. Discard will revert the Layout back to its original published state.
Preview Layout
The Published Layout will play from start to finish to allow you to see how it will play once scheduled.
Assign to Campaign
Select to add the selected Layout to an existing Campaign.
Copy
Create copies of designed Layouts to easily make modifications. Choose to include all contained Media items, to use as a base for creating new Layouts to save time.
Retire
Retire a Layout so it does not affect existing Schedules. A retired Layout will be hidden from new Scheduling options but will remain unaffected in existing Schedules and continue to show on Displays.
Export
Export the Layout including all associated Widgets/Media/DataSet structures to a ZIP file, so it can be easily shared.
Notable settings are listed below for a Draft Layout:
Publish
Select to Publish Now or select a date and time to set the Layout to Publish at a future date/time.
Discard
Discard all changes made to a draft and revert back to the previous Published version.
Preview Draft Layout
Play a Preview of your Layout in its current Draft status. Make any necessary adjustments before committing any changes by Publishing.
