User Groups
User Groups allow for a set of Features and Share options to be applied to all Users within a specified Group.
Xibo comes with a set of pre-configured User Groups for common functions for new installations.
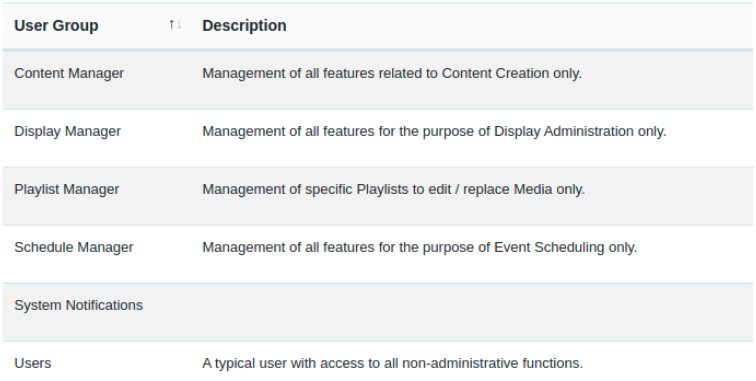
These Groups already have the required Features enabled to allow Users to carry out the chosen role, and can be modified if necessary.
Using User Groups makes it easier to onboard new Users and manage system access. Users will inherit the Features and Sharing enabled for the User Group!
Create new and manage existing by clicking on User Groups under the Administration section of the menu.
User Groups that you create can be enabled to be shown for the New User onboarding wizard!
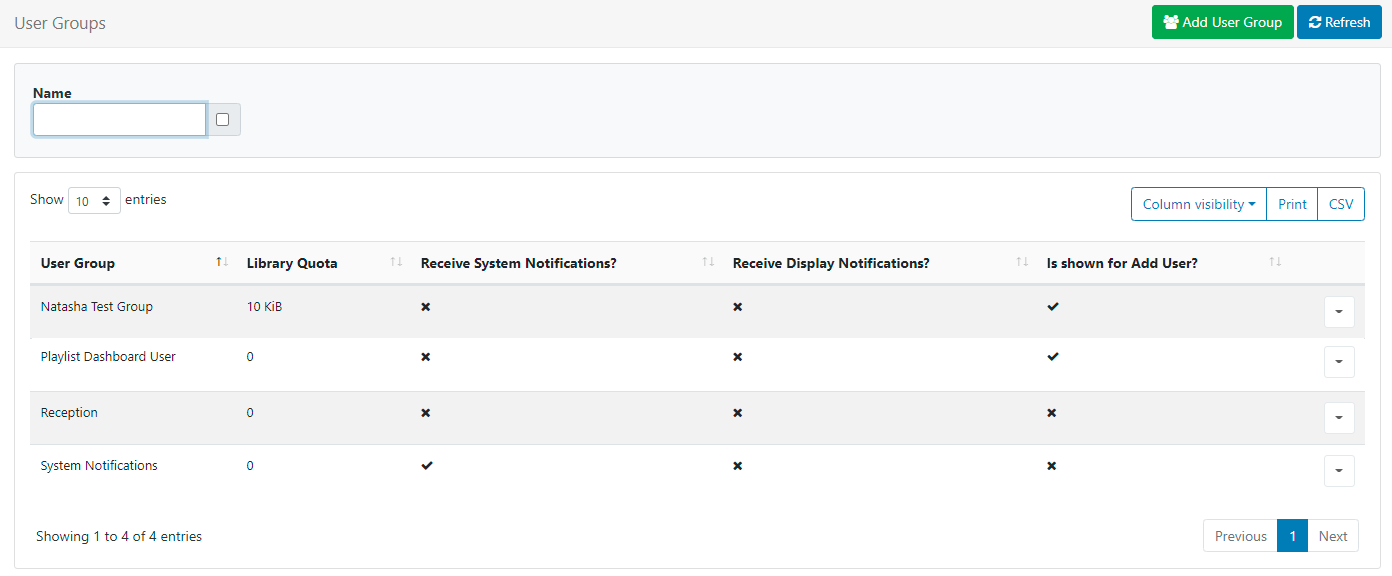
Create a new Group by clicking on the Add User Group button to open the form:
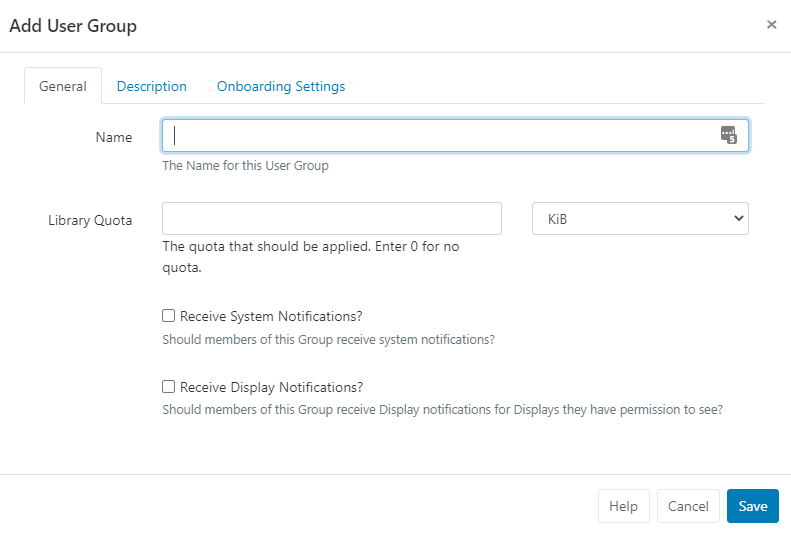
General
- Use this tab to give your User Group an identifiable Name
- Assign a Library Quota to the group to determine the maximum amount of content allowed to be uploaded to the Library. Enter 0 if no quota should be applied.
- Enable the Notification options if required for the Group.
Description
Provide optional text to describe the created Group.
If enabled, this description will be shown for onboarding new Users and so should describe the Groups role to make it clear for selection!
Onboarding Settings
This tab controls the options for onboarding new Users.
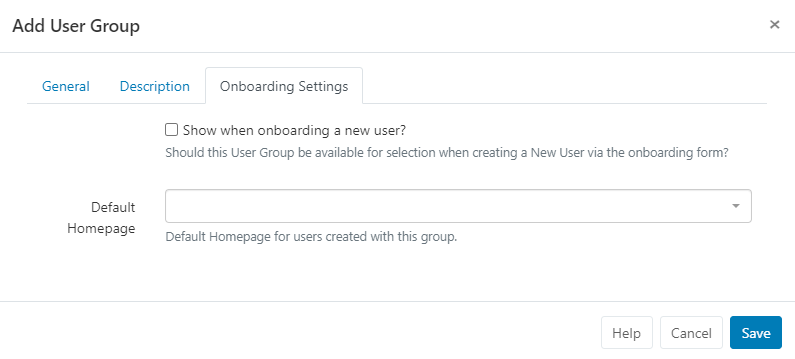
- Use the checkbox to include this User Group for selection when using the onboarding wizard for new User’s.
- Use the dropdown to select a Dashboard to be used as a homepage for Users created with the Group.
Once all tabs have been created click to Save.
Group Members
Once created, Users can be assigned to the Group using the Row Menu and clicking on Members:

- Use the checkboxes to assign Users to the Group, and click to Save.
Users can be assigned to one or more User Groups for ease of sharing and collaboration!
User Membership can also be controlled from the User Grid using the Row Menu. Click on User Groups to open the Manage Membership form!
Features
Click on Features from the Row Menu to control the required access for the User Group:

For further information see the following page: Features and Sharing
Use Copy from the row menu of a User Group to easily make adjustments and create new Groups to suit your needs!