Layouts
A Layout is a complete screen design made up of content, which is then scheduled to a Display/multiple Displays / Display Groups. A Layout is made up of 1 or more Regions which act as placeholders for content which each contain a Timeline of Media to show. Media is assigned to a Timeline using a wide range of Widgets.
Take a look at the Modules page to see the variety of Widgets available!
Xibo has no limit to the number of Layouts you can have in the system or the number a User/User Group can have.
Layouts are administered by clicking on Layouts under the Design section of the main menu:
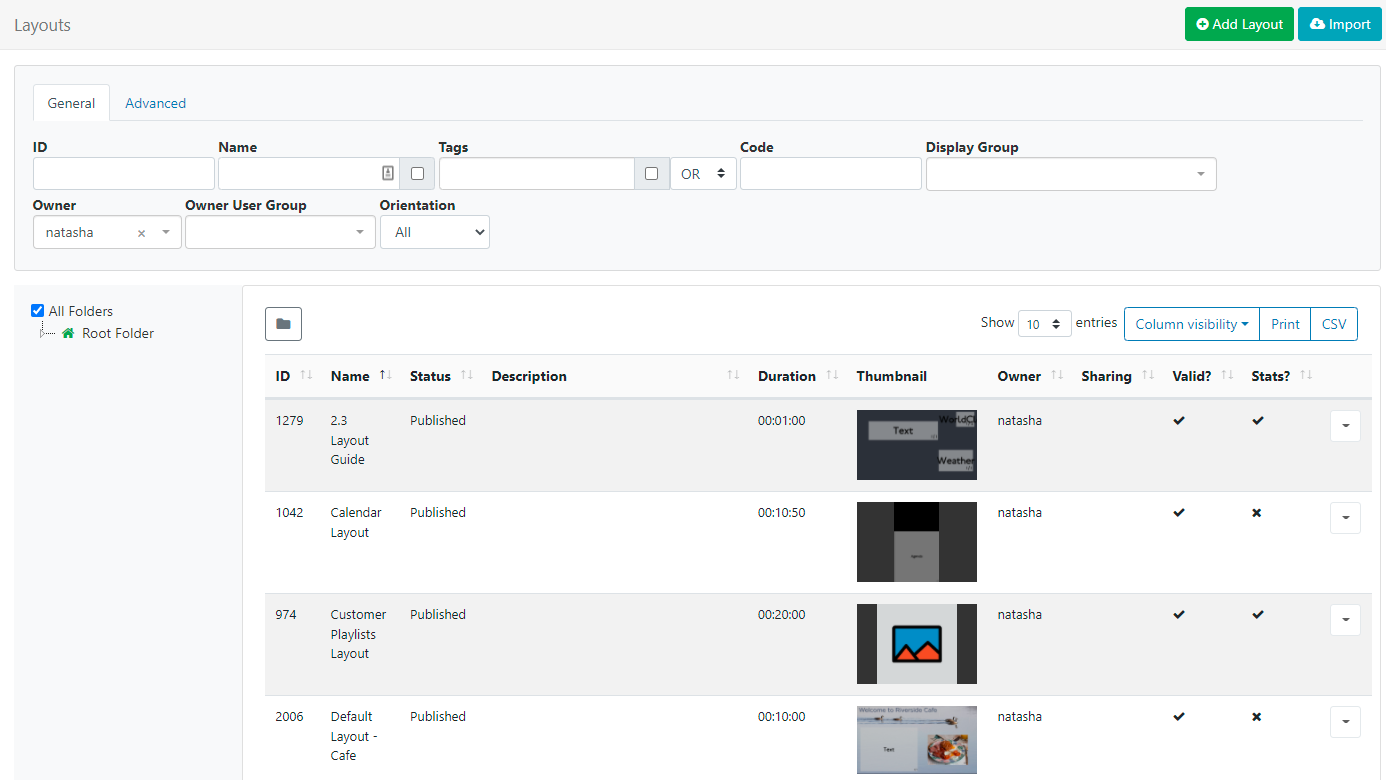
Thumbnails will show for Published Layouts. If you have upgraded from an earlier version, you will need to checkout and Publish existing Layouts to update the Thumbnail!
Click the Folders icon to toggle on/off from view.
When Folders are hidden from view, the file path for the selected folder will be shown!
- Click on a Folder/sub-folder to search the contents and return results based on any filters applied to the grid.
or
- Tick All Folders to include searching in the Root Folder and return results based on any filters applied to the grid.
Check out the Folders page for further information!
The Layout Grid allows users to create new and edit existing.
Add Layout
When should a User create a new Layout? When should a User add to an existing Layout? Layouts provide vast flexibility in the system, but can also cause confusion. The recommended usage for a Layout is to only contain the design and media required for a set of related content that should be scheduled at the same time.
Scenario: You have a video showing a fire safety demonstration and a video showing an advert for an upcoming production - it would be natural to have separate Layouts for these.
Click on the Add Layout button at the top of the grid:
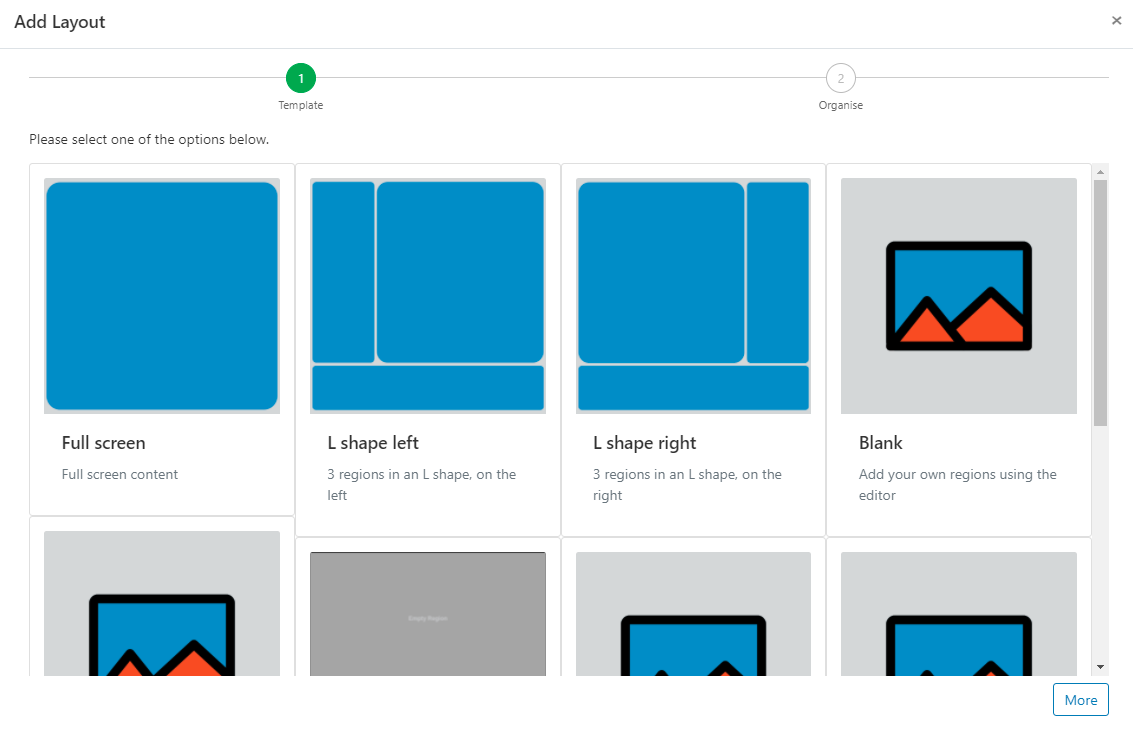
Select a Template to use from the available options:
- Default pre-defined templates
- Blank to add your own Regions
- Choose from your own published Templates
Xibo Exchange
- Select one of our templates from the Xibo Exchange
Xibo Exchange templates are enabled by default for new Xibo Cloud Hosting customers.
If you are upgrading from an earlier version you will need to enable by navigating to the Administration section of the CMS and click Applications. Scroll down the page to the Connectors section. Click to Configure and tick to enable, Save changes.
On-prem installations can enable templates from the Xibo Exchange by navigating to the Administration section of the CMS by clicking on Applications and scrolling down the page to the Connectors section. Click to Configure and tick to enable, Save changes.
- On making a selection click the Next button at the very bottom of the form:
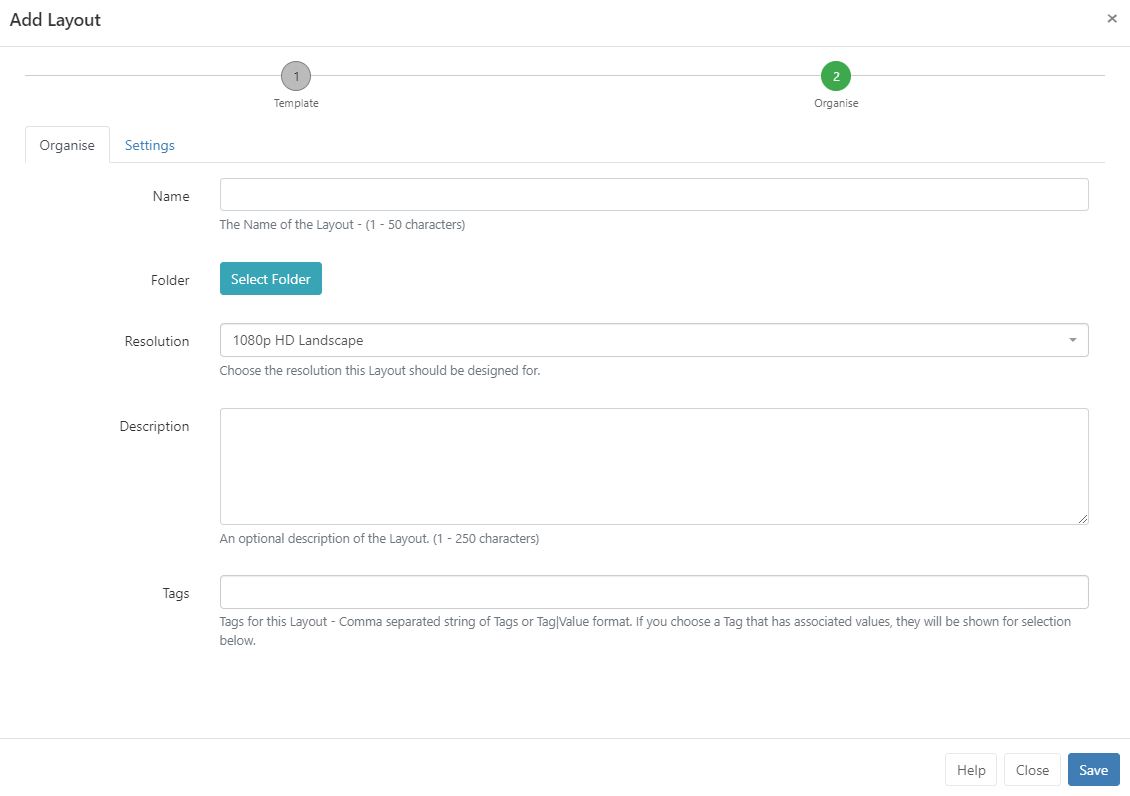
- Provide a Name for easy identification purposes within the CMS.
- Layouts can be optionally saved to Folders for easier searches, organisation and to easily set Share options for Users/User Groups.
Layouts that are saved in Folders will inherit the View, Edit, Delete Share options that have been applied to the destination Folder for User/User Group access.
If users should also have access to the content of the Layout, ensure that this is also saved to the same Folder!
Resolutions
Layouts are designed for an intended display Resolution and will function best when shown on a Player with a matching resolution. If they are shown on a display that has a different resolution it will dynamically resize which may result in unused screen space.
Sending a Player a Layout that has been designed with a 4:3 resolution which is connected to a 16:9 TV screen would result in two empty bars either side of your content.
Xibo comes with a selection of default resolutions that cater for most digital signage applications. Add/edit and enable from the Resolutions page under the Design section of the main CMS menu.
-
Include an optional Description to give more detail/instructions to other potential users of the Layout.
-
Include optional Tags to organise and make it easier to search for.
Use the With Selected option at the bottom of the Layout grid to edit Tag assignments in bulk!
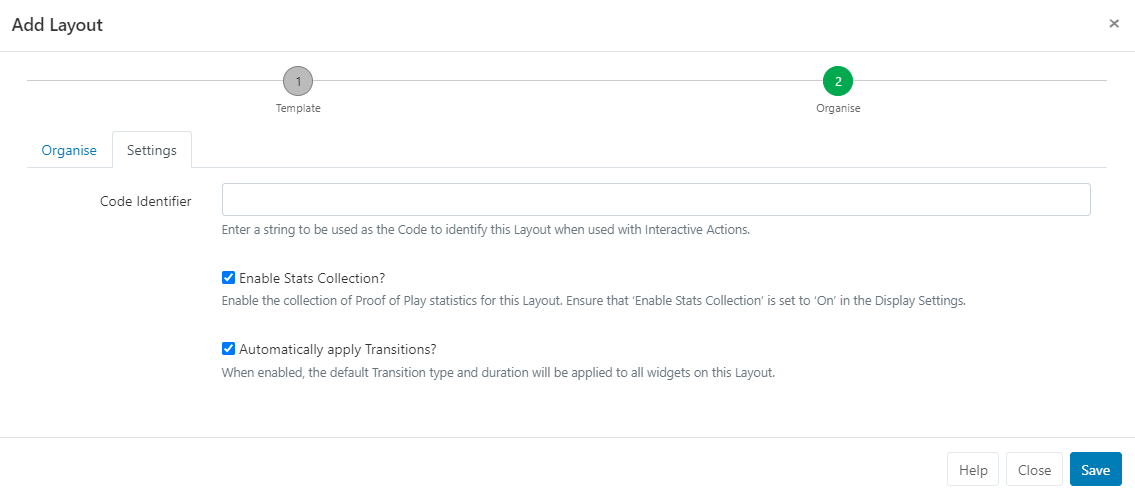
Click on the Settings tab for further options:
-
Enter a string to be used as the Code Identifier to identify this Layout when used with Interactive Actions
-
Tick/untick the box to enable/disable the collection of statistics for Proof of Play Reports for the newly added Layout.
Ensure that the Enable Stats Collection check box has been enabled for the Display this Layout will be scheduled to, in the Display Profile Settings.
-
Default Transition settings can be applied to all Widgets on the Layout by ticking the box.
-
Save the Add Layout form to automatically open the Layout Designer.
Row menu
Each Layout has additional actions/shortcuts that can be accessed using the Row Menu in the grid:
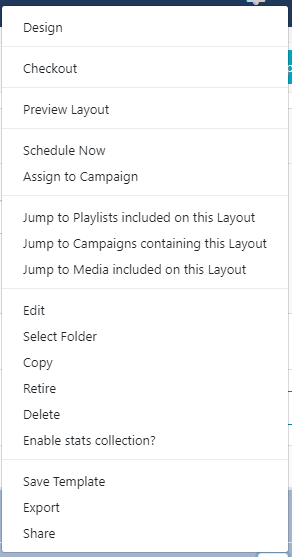
The following options are available from the row menu of a Published Layout!
Design
Select Design to open the Layout Designer to make edits to the content/design of the Layout.
To prevent two Users editing the same Layout concurrently, the Layout will lock for a User whilst editing.
If your Layout has a Published status, the Layout Designer will open in a Read Only Mode. You will need to ‘Checkout’ the Layout to enable editing.
Checkout
Checkout from the Row Menu to put the Layout into a draft mode so that changes can be made later. Once edited, the Layout can be Published to make changes permanent and to overwrite the existing Layout. Discard will revert the Layout back to the original published state.
Users can select the ‘auto submit’ check box so that this form is automatically sent each time that Checkout is selected. Further information can be found on the Grids page.
Take your time with any edits you need to make as using Checkout ensures that no changes are made to your published version or shown on scheduled Displays until you choose to do so. Publish confirms changes have been made and will overwrite your published version. Discard will delete the draft with the published version remaining untouched.
Preview Layout
The Published Layout will play from start to finish to allow you to see how it will play. Make important adjustments to ensure that layout designs play as intended before scheduling to Displays.
Before the Layout can start all Media must be downloaded to your browser and verified so you may experience a slight delay whilst this is in process.
Schedule Now
To save time, Layouts can be scheduled for a specified amount of time, which can be very useful for important notices / promotions.
Layouts must have a Published status before being scheduled.
Assign to Campaign
Click to add the selected Layout to an existing Campaign.
Jump Lists
Select to ‘jump’ to Playlists, Campaigns and Media associated for the selected Layout.
Edit
Make changes to the Layout record such as, Folder location, Name and Tags etc.
Select Folder
Move the Layout to a selected Folder.
Copy
Create copies of designed Layouts to easily make modifications. Choose to include all contained Media items, to use as a base for creating new layouts to save time.
Copying a Layout will create an exact copy of the last time the Layout was Published. Make sure that you Publish a Layout before making a copy to preserve any changes!
Retire
Retire a Layout so it does not affect existing Schedules. A retired Layout will be hidden from new Scheduling options but will remain unaffected in existing Schedules and continue to show on Displays.
Delete
Remove a Layout and all its associated media completely from all existing Schedules. Please note: This action is irreversible!
Enable Stats collection
Enable the collection of Proof of Play statistics.
Export
Export the Layout including all associated Widgets/Media/DataSet structures to a ZIP file, so it can be easily shared.
When exporting a Layout, all assigned Layout, Playlist and Media Tags will be exported. Select the Import Tags option to add these Tags on Layout Import. Add the ‘Export’ Feature to allow a User/User Group to export regardless of the Share options that have been set for the Layout and its contents!
Share
Enable Share options for selected Users/User Groups.
Draft Status
Selecting a Layout that is in a Draft status will present the following additional Row Menu options:
Administrators can use the default setting on the CMS Settings page to automatically Publish draft Layouts 30 minutes after the last edit!
Publish
Select to Publish Now or select a date and time to set the Layout to Publish in the future.
Discard
Click to ignore any changes that have been made and revert to the previous Published version of the Layout.
Preview Draft Layout
Play a Preview of your Layout in its current Draft status. Make any necessary adjustments before commiting any changes by Publishing.
Did you know….Layouts and Library files can be Assigned directly to a Display or Display Group so that they are always available in the local library of the Player. Useful for pre-loading a Layout ahead of time ready to be scheduled.
Take a look at the How to create a simple Layout guide